Managing the Emergency Pantry

I've just finished inventorying, labeling and organizing our emergency pantry supplies. The first thing I did was clear the non-food hurricane supplies from the cabinet (they're going to live on some shelves across from it) and rearrange the foods as I was labeling them with their expiration date. I was able to move almost all the food from under the sink to the top cabinet. Now anything I add to the emergency pantry will need to be labelled and placed in first-in-first-out order.

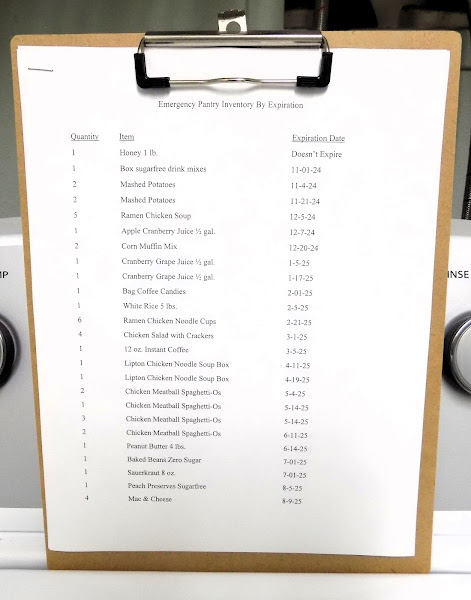
I also created an inventory list on word that will be easy to check before I go shopping, and update as I add new supplies. I have one version in alphabetical order by item, and another sorted by expiration date. At the beginning of each month my guy and I will check the expiration list, and rotate foods that need to be used before they expire into our regular pantry.

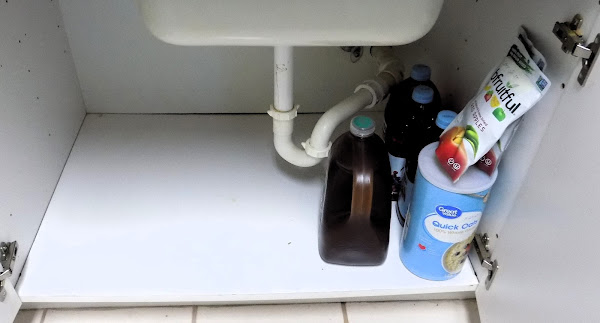
Here's how much space I created by reorganizing. This should be enough room to hold our larger items, and maybe even another month's worth of food.

Comments

Maria Zannini said…
I've only ever made my list on the computer, but I like your paper idea better. The next time I re-inventory I'm going to print out the list.

Thanks!

Popular posts from this blog

Downsizing

This was my fabric stash once I sorted everything -- 22 full bins. I spent a day taking out and boxing up what I could part with, with the goal of trying to reduce it by half, so I'd have 11 bins. I was very strict with myself, and removed everything that for one reason or another I was sure I wouldn't be able to use. This is what I ended up with -- 12 bins of fabric that I'm keeping. It's not quite half, but close enough. Half of what I took out went to a local quilter friend, a school and Goodwill. These four tightly-packed bins will be going to the local quilting guild once I make arrangements with them for a drop-off place. I am relieved and a little sad and now determined to control my impulses to thrift more fabric. I don't want to do this again, so until I use up six bins, I can't for any reason bring any new fabric into the house.

In Progress

I promised myself I would show you the good, bad and ugly of my cleaning this year. This is what it looks like when you dump thirty years' worth of stashed fabric on the floor -- and oy, what a pain in the butt to pick up again! This is what it looks like after it's been sorted, folded and placed in containers, which took me about a week. Now the hard part is to downsize my stash by at least half, I think (that's my goal, anyway.) I've already e-mailed the president of the local quilting guild, a local friend who is a quilter, and a public school art teacher I know to see if I can donate some of the excess to them. The rest will go to Goodwill. Already I've reduced my vintage textiles from two bins to one, and my scraps from three bins to one. It's probably the hardest clean-out I've done, which is why I saved it until last. I know I have too much fabric, more than I can use in my lifetime -- but at the same time, I love it. So I have to

Other Stashes

Along with clearing out the spare bedroom and tidying my office and our guest bedroom, I decided to reorganize some of my stashes. This is all the yarn I have on hand, sorted by color. It looks like a lot, but lately I've been using up a minimum of half a bin every month, so this is approximately a year's supply. All of my solid color cotton perle thread. I go through a lot of this every year, too. I need a container in which I can fit all of it together, but I haven't found the right one yet. I won't show you all of my fabric -- I'm still reorganizing this stash -- but I went through everything and donated two bins of fabric I won't need to the local quilter's guild.