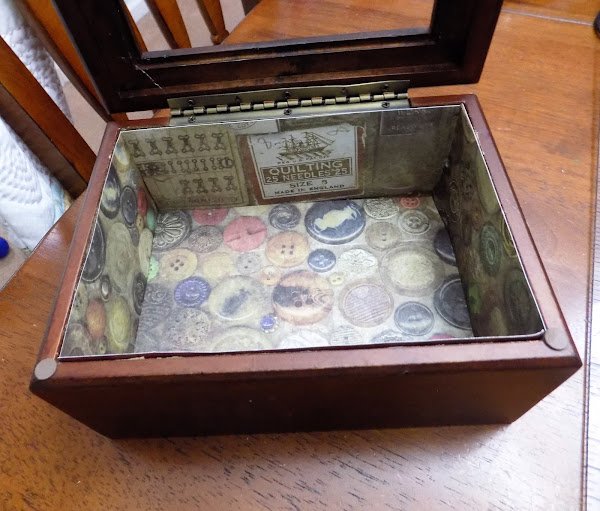
The last of my three thrifted boxes for my fabric journals proved to be a pain in the backside. After removing the smelly, stained flocked cardboard liner I also had to scrape out the sticky old glue, which was super nasty (a putty knife works best if you have to do this on wood.) Finally I got the interior almost down to the wood; a couple of paper patches refused to come out. I also didn't want to soak the box to try to remove them as it's made of composite wood, which can swell.
After another thorough cleaning I cut and fit some decorative cardstock to use as new lining.
I also cut a piece of cardboard to fill in the big hole in the underside of the lid.
Here's everything glued into place. I used hot glue to do this as ordinary glue might have made the cardstock wrinkle.
For the top of the box I decided to make a little quilt from some hand-painted velvet on an antique crazy quilt cutter piece I had on hand. I thought it would go well with the dark wood.
Here's the finished box. Although it gave me the most trouble out of the three, I really liked how it turned out. I was also quite happy to recycle that handpainted velvet patch and give it new life.
Recycling thrifted boxes isn't for everyone, I know, but you can have a lot of fun with a project like this. It's also an inexpensive way to create something memorable, and challenge yourself creatively. I probably wouldn't have had as much fun with tins, so I'm glad I opted for boxes. All of the materials I used were those I had on hand -- I didn't buy anything new to use for the project -- so the $11.97 that I paid for the boxes the whole project still came in well under my budget of $20.00.
Now to make some fabric journals to put in the boxes!


Comments
Really nice job upcycling.